Showing posts with label tutorial. Show all posts

Illuminating Your Space: A Simple and Easy Method for Determining Room Lighting Needs

A Simple and Easy Method for Determining Room Lighting Needs
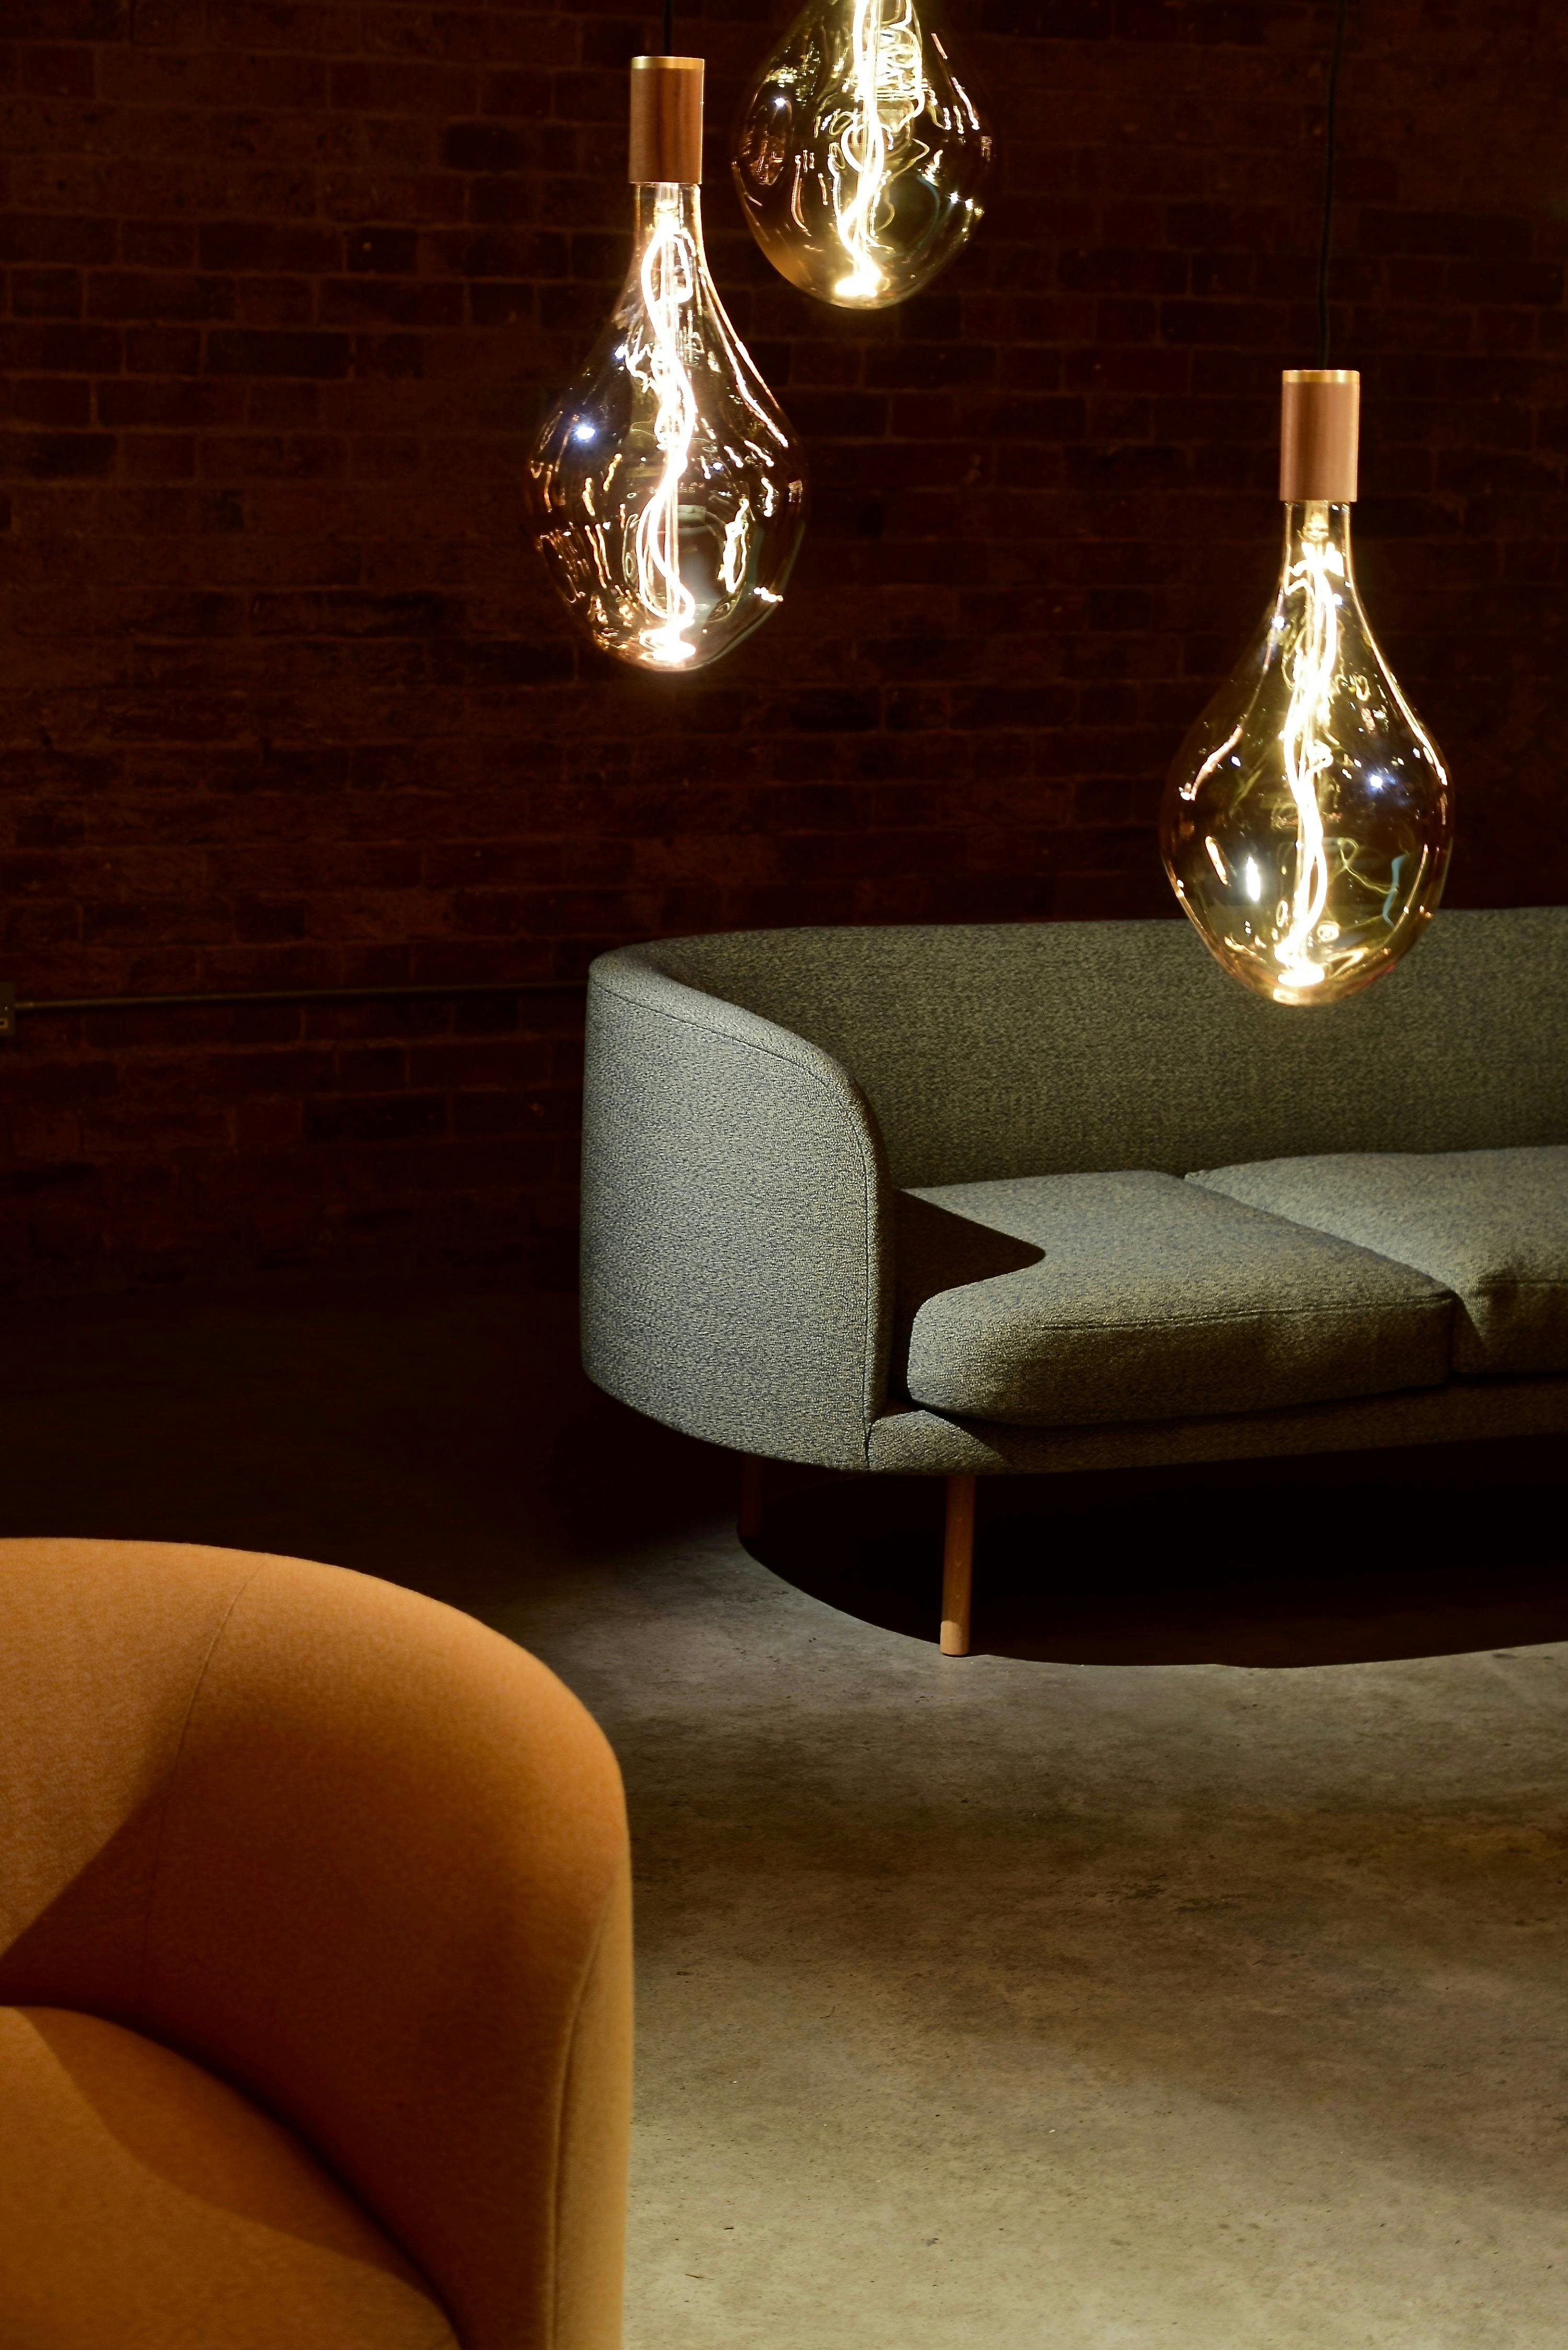
When it comes to lighting a room, having the proper number of light fixtures to achieve the desired brightness level while also being energy efficient is critical. Using a combination of lux, area, and lumens per fixture is a simple way to calculate the number of lights needed. This article will go over this method in depth and show you how to use it to get the ideal lighting for any room.
 
Three Edison Light Bulbs Beside the Sofa
Photo by iSAW Company from Pexels

Online Tools to Help Improve Your Writing Skills

Writing great articles is a skill that was never one of my strengths. Even though I love to share my ideas, I always struggle to convey my thoughts. Although I have a fundamental understanding of English, I find it difficult to arrange my thoughts. I find it hard to put words and sentences, and I have a little background in making complex sentences. I also tend to have grammatical errors, and despite knowing my weaknesses, I hardly read my articles.


That's why I've been using online tools to help me with my work and blog posts. These tools have greatly improved the way I create and structure my writing. I've been reviewing my past articles since the beginning of the quarantine. Now, I appreciate the importance of creating readable articles. It's a challenge to get your message across if readers don't understand what you're saying. 


My articles may not be equivalent to a skilled writer, but it is an improvement compared to my previous output. These are the tools that I am currently using, and as a result, my grammar and vocabulary have improved.


Grammarly


Grammarly offers a free version that checks grammar, punctuation, spelling, and vocabulary. It has an integrated thesaurus that provides alternative synonyms that would fit your sentence better. Grammarly also alerts users to intricate text, misplaced words or phrases, word choice, incomplete sentences, monotonous sentences, and passive voice misuse.


The free version only provides notice of these issues. To remove these flaws, users need to correct the sentences manually. On the other hand, the premium version notifies which sentences need corrections and gives better options to fix these issues. 

7 Fast and East Steps to Color Correct Photos in Photoshop


Learning how to color correct your is crucial if you want your photos to look good. In-camera white balance is accurate most of the time. Cameras have a hard time determining proper white balance when there are multiple light sources with different colors. The camera will have a hard time picking which color to pick if there are two or more light colors within the picture. 

Vray Tips: How to Improve Rendering in Vray Frame Buffer

Default Render Output
Original Render Output

Proper scene exposure is a problem most beginners encounter in Vray. Back when I started learning Vray, my workflow was long and tedious. I did all my exposure corrections manually. If I have an underexposed image, I make changes to the physical camera parameters. I render the scene again and examine the output for proper exposure. It always took me several tries before I get the appropriate exposure.

I've always relied on post-processing to improve the dynamic range of my rendering. Wide dynamic range scenes happen when there is a wide gap between the dark and light areas of a scene, usually in interior scenes, when the outside is visible from the inside. Interior scenes facing windows or sliding doors exposed to sunlight are the typical wide dynamic range scenes.

3D Tips: Vray Ambient Occlusion

A simple tip that can improve your renderings is to take advantage of Vray's ambient occlusion. Ambient occlusion wasn't available back when I started using Vray. Ambient occlusion is a simplified way of using Vray dirt in the scene.

The first scene did not use ambient occlusion. The walls are too bright, while the joints and the ceiling's corners aren't that well defined. There are also a lot of overblown highlights in the scene.

Tutorial: Selective Noise Reduction

Shooting at high ISO can result in noise. Most of the time noise both color and luminance are found at dark areas of the photos. Applying noise reduction to the photos will also result in reduction of details. I've devised a method in selectively reducing noise on my photos shot at high ISO. Below is step by step guide to my selective noise reduction work flow on photoshop. (Click on the images to view full size)

1. Open the file
2. Create a duplicate layer of the file

3. Apply Noise reduction to the entire photo. You may use any noise reduction filter you like. I prefer the Reduce Noise Filter.

Image Averaging - How to Increase Detail and Remove Noise from Images

Shooting with low light means that you need to use high ISO, resulting in a lot of noise. I found two articles that improve the quality of photos taken at a high ISO level. The first method is to stack underexposed photos to create a proper exposure. The other method is to stack a few high-iso photos removing the noise and increasing the detail.
Single Image ISO 3200
9 images averaged at ISO 3200

Google Sketchup Tutorials


 A couple of years ago, my office mate introduced me to a 3D software developed by Google. I was surprised by its versatility but was dismayed about the fact it didn't support some lighting plugins back then. 

I practiced on some of the online tutorials back then. I found the program to be very user friendly. It only takes a couple of days for someone who has no background in 3d modeling to learn this program. I never realized the true potential of the program until I saw most of my former classmates using the program in their renderings. 

Lately, I started using Sketchup again. Its been a while since I last used the program. I needed to practice it again. I'm relearning the things I've learned back then and discovered some new things along the way.

If you are interested in learning 3D modeling but don't have the patience to go to school. I suggest you learn this program through online tutorials. It's easy to use and a great tool to help you with your designs. Here are a couple of links to some tutorials in Sketchup:

Grass Tutorial Using Vray Fur for 3Dmax

You should have VRay plug-in installed to use this tutorial.


1. First thing you should do is make a plane about 4m x 4m for your vray fur
2. You then go to create menu>geometry>vray


3. the vray submenu will then appear.
4. click VRayFur and you should see something like this


5. adjust the values of the highlighted portions accordingly


6. Hit render. You should see a result like this.


7. Apply some grass materials to the VRay Fur and plane


8. Hit render. There you have it a grass using VRay Fur.


Just some minor notes:
1. If ever you're using a larger plane for your grass add a 1-meter subdivision to your plane.
2. You cant use uvw maps on Vray fur.